

Nelle seconda metà del diciannovesimo secolo gli specchi non sono più costosi oggetti di lusso, realizzati artigianalmente e riservati esclusivamente ai ricchi nobili. E’ stata scoperta l’argentatura delle lastre di vetro e si passa quindi alla produzione industriale. Gli specchi entrano a far parte dell’arredamento delle case del ceto medio.
In the second half of the nineteenth century, mirrors are anymore expensive luxury items, handcrafted exclusively for the rich nobles. The silvering of glass plates has been discovered and now mirrors are industrially manufactured. So they become part of the furnishings of the houses of the middle class.
.JPG)
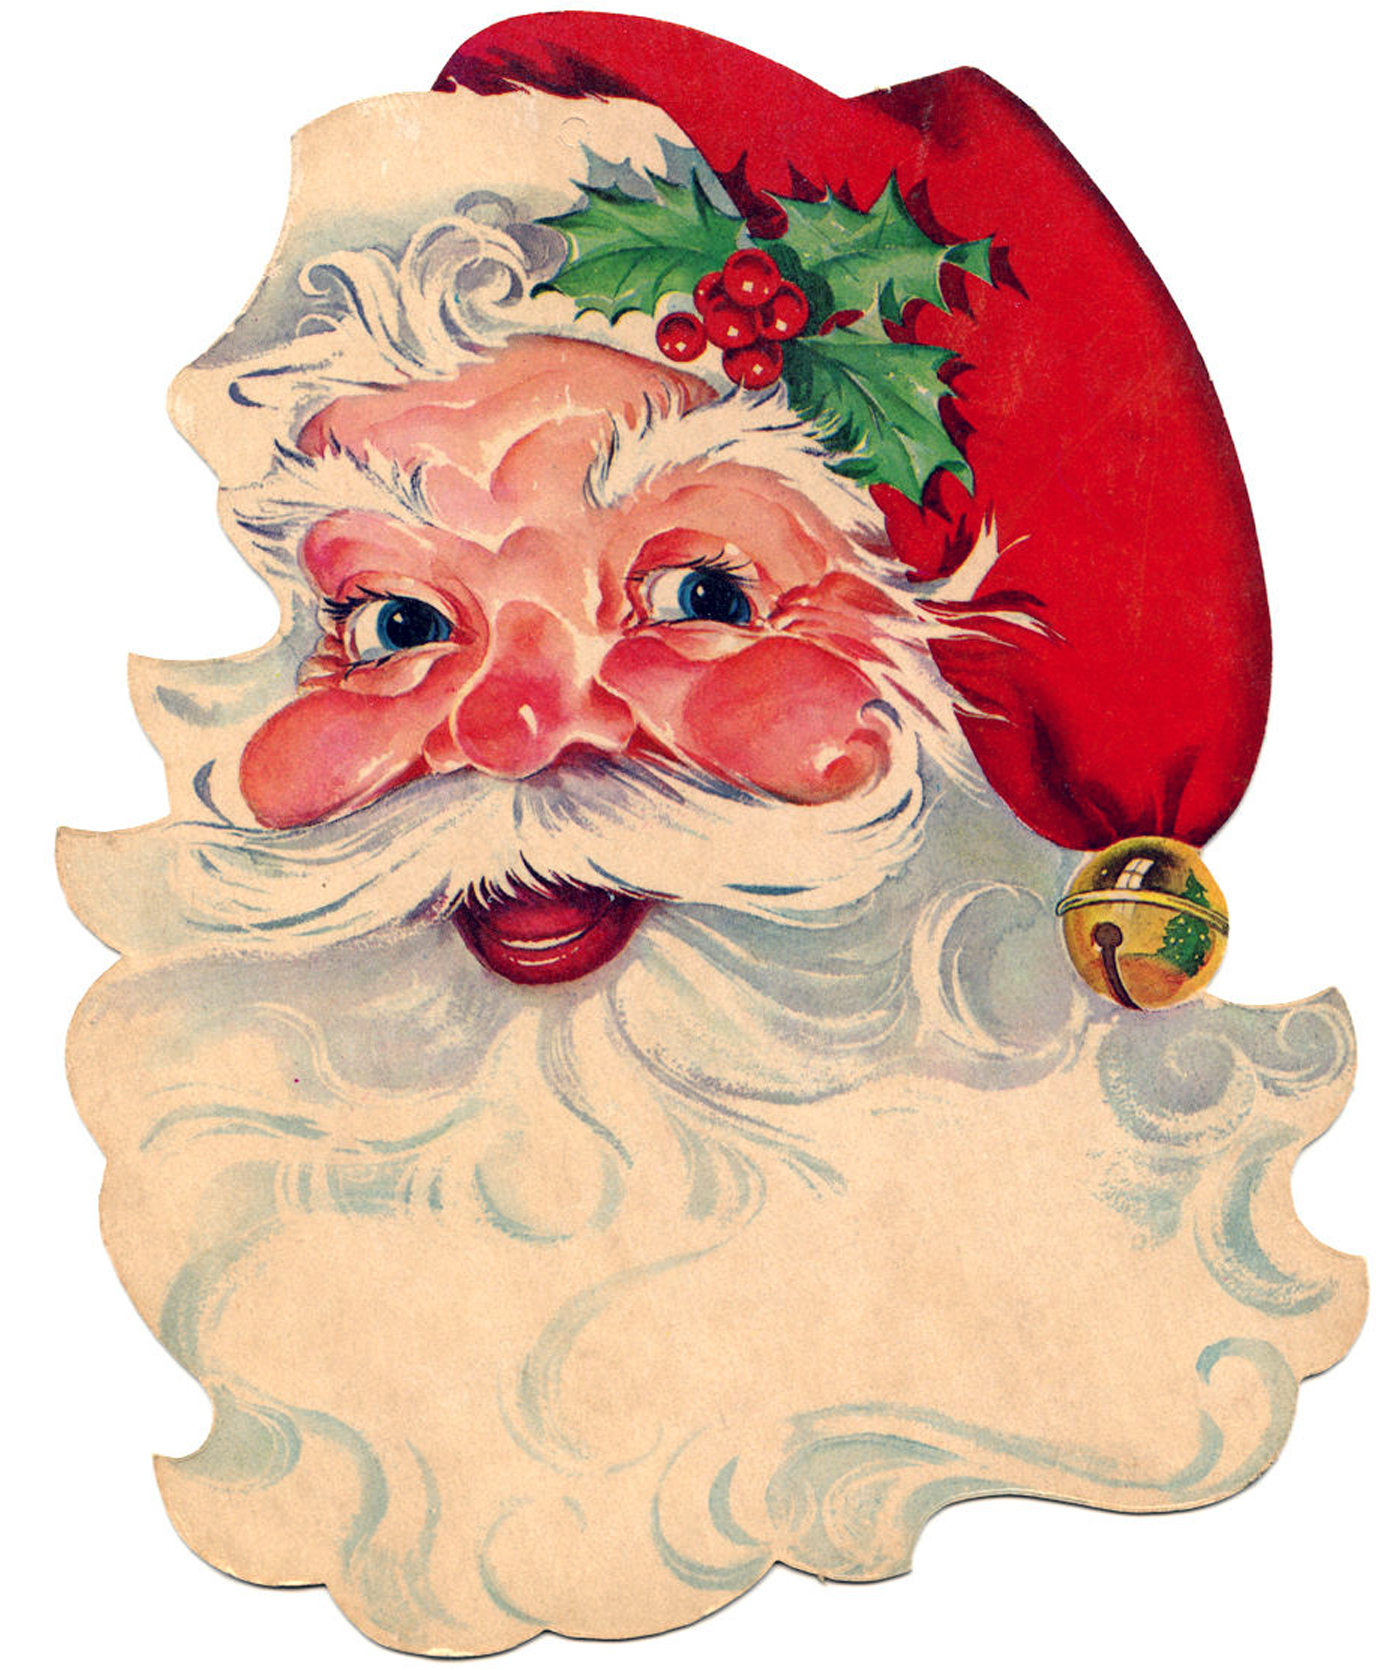
Pompeo Massani (1850-1922) – Shaving man
Con le nuove scoperte nel campo chimico e medico e l’arrivo dell’acqua corrente in molte case si diffonde l’importanza dell’igiene personale. Il lavarsi inizia a far parte della routine giornaliera anche per la borghesia.
Nelle camere da letto compare una piccola specchiera che viene posta sul comò. Davanti ad essa gli uomini si radono stando in piedi.
Thanks to the new discoveries in chemistry and medicine and the arrival of running water in many houses, personal hygiene and grooming becomes more and more popular and is part of the daily routine also for the bourgeoisie.
In the bedrooms appears the vanity mirror. It is placed on the dresser and men stand in front of it for shaving.

L’uomo dell’epoca vittoriana riserva una particolare attenzione all’aspetto del suo viso. Alcuni lo preferiscono completamente rasato, mentre altri amano barbe, baffi molto curati e di diverse fogge e stravaganti basette.
Davanti allo specchio vengono regolate con le forbicine di precisione le forme, con i rasoi si radono completamente parti del viso, si applica l’olio di Macassar profumato al ylang-ylang per nutrire il pelo, si modellavano i baffi con le cere e la notte si applicano retine e particolari cornici di legno per mantenere la forma dei baffi durante il sonno.
The Victorian man has a special attention for his face. Someone prefers to be clean-shaven, while others love more groomed and differently shaped beards, mustaches and extravagant sideburns.
In front of the shaving mirror men adjust their facial hairstyle with precision scissors; shave with the razors their face completely or just parts of it; apply Macassar oil scented with ylang-ylang to the hair to nourish it; shape the mustaches with waxes; before going to sleep they apply special nets and wooden frames to keep the whiskers in shape during the night.


Lo specchio da sistemare sul comò è diverso dal semplice specchio da tavolo. La superficie riflettente è più grande ed è contornata da una cornice lavorata, come se fosse un quadro. E’ fissato con dei perni a delle colonnine laterali, così da poter essere inclinato e cambiare angolazione. Poiché è difficile che rimanga nella posizione desiderata, gli esemplari basculanti sono stati prodotti solo per un periodo limitato. Gli specchi più recenti hanno infatti specchi fissi.
La base può avere forme diverse, da semplice piedistallo a vero e proprio contenitore con uno o più cassetti nei quali conservare l’attrezzatura per la cura della barba. In taluni il piano può essere eventualmente rivestito di marmo, per evitare che la ciotola con il sapone ed il pennello lo macchino.
The shaving mirror is more elaborated then the stand itself type. The reflecting surface is bigger and it is framed by a molded frame, as a painting. It is fixed with pins to the side pillars. It can swing and change angle. Since it doesn’t stay secured in the desired position, the swinging mirrors loose soon their popularity and are replaced by mirrors that are permanently attached to the dressing chest.
The base can have different shapes, from a simple pedestal to a real container with drawers where to store the equipment for men’s grooming. Some have a marble top to preserve it from water stains from the shaving mug or brush.

Il nostro specchio da comò è composto da tre parti: la base con il cassettino, lo specchio e le colonnine laterali che lo sorreggono.
Abbiamo utilizzato diversi materiali per questo progetto. Innanzitutto serve il cartoncino. Noi abbiamo recuperato quello delle scatole di cereali. Se volete avere qualche informazione su come sceglierlo ed usarlo, potete leggere qui.
Occorrono poi due colonnine di legno tornite. Noi abbiamo preso quelle che si acquistano come gambe dei tavoli o per la balaustra delle scale. Per lo specchio abbiamo preso un foglio riflettente. Necessitano poi un pomellino per l’apertura del cassettino e due spilli con la capocchia nera.
Our shaving mirror is made of three parts: the base with one drawer, the mirror and the side columns that hold it.
We used different materials for this project, first of all cardboard. Ours is from recycled cereal boxes. If you need more informations on how to choose it or use it, please read here.
Then we used two wooden turned columns. We took those sold as table legs or spindles for stair railings. For the mirror we took a reflective sheet. In addition we needed a knob to open the drawer and two pins with a black pinhead.

Innanzitutto abbiamo ritagliato 3 rettangoli per la base. Ognuno misura 4 cm x 2,5 cm.
Per ottenere un cartoncino più robusto abbiamo bisogno di raddoppiare lo spessore. Così abbiamo ritagliato 3 rettangoli grandi il doppio: 8 cm x 2,5 cm. Poi sul lato non stampato abbiamo tracciato con il cutter una leggera incisione. Questo facilita la piegatura. Abbiamo steso la colla uniformemente sul lato con la stampa; abbiamo piegato in due ogni pezzo e pressato bene per far aderire perfettamente le due superfici. Dove necessario abbiamo leggermente scartavetrato i bordi per renderli uniformi.
First of all we cut 3 rectangles for the base. Each piece measures 4 cm x 2.5 cm.
To get a stronger cardboard we had to double the thickness. So we cut out three rectangles twice as large: 8 cm x 2.5 cm. Then on the non-printed side we traced with the cutter a slight incision. This will make the folding easier. We spread the glue evenly on the printed side; we folded the piece in two and pressed firmly, so the glue could adhere well to both the surfaces. Where necessary we slightly sanded the edges to make them smooth.
 Partendo dalla punta del rettangolo abbiamo fatto su ogni lato un segno a 5 mm dalla punta ed abbiamo eliminato i quattro angoli, ottenendo un ottagono. Abbiamo ripetuto l’operazione anche per gli altri due rettangoli.
Poi abbiamo preso due ottagoni e li abbiamo incollati insieme. L’ottagono più spesso serve per il fondo, mentre quello più sottile è per la parte superiore della base.
Starting from the tip of the rectangle we made on each side a sign distant 5 mm from the angle. We eliminated the four corners obtaining an octagon. We repeated this operation for the other two rectangles.
Then we took two of the octagons and we glued them together. The thicker octagon will go to the bottom, while the thinner will go on the top of the base.
 Il bordo della base è realizzato con una striscia di cartoncino semplice. Essa deve essere flessibile per potersi adattare facilmente alla forma ottagonale alla quale andrà incollata.
La striscia di cartoncino è alta 1 cm e lunga 12,4 cm. Vi consigliamo di verificare che la lunghezza sia giusta anche per la vostra base. Per ottenere questa misura, potete procedere come abbiamo fatto noi.
The side of the base is made with a thin strip of cardboard (one layer). It must be flexible so it can easily adapt to the octagonal shape where it will be pasted.
The strip of cardboard is 1 cm high and 12.4 cm long. We advise you to check that this length is right for your base, too. To obtain this measure, you can proceed as we did.
 Con una matita abbiamo segnato sull’ottagono il punto esatto dal quale iniziare a misurare la lunghezza della striscia del bordo, ovvero il perimetro.
With a pencil we marked on the octagon the exact point where we start measuring the length of the strip, in other words the perimeter.
 Con il cutter abbiamo segnato il punto di partenza sulla striscia del bordo. Vi abbiamo appoggiato sopra l’ottagono della base facendo coincidere l’inizio con il segno della matita.
Poi abbiamo fatto rotolare lentamente l’ottagono lungo il bordo della striscia. Ad ogni angolo dell’ottagono abbiamo fatto un segno sulla striscia per marcare il punto nel quale il bordo dovrà piegarsi per seguire la forma della base.
Abbiamo proseguito fino ad essere ritornati al segno della matita ed aver quindi compiuto un giro completo. Quindi abbiamo marcato la fine della striscia e tagliato via l’eccesso.
With the cutter we marked the starting point on the strip. We laid the octagon base on it, so that the beginning of the strip matched with the pencil mark.
Then we slowly made the octagon roll along the edge of the strip. At each corner of the octagon we made a sign on the strip to mark the exact point where the border will bend in order to follow the shape of the base.
We continued until we returned to the pencil mark and we made a full rotation. Finally we marked the end of the strip and cut off the excess.
 Con la lama del cutter abbiamo marcato la piega in corrispondenza dei segni degli angoli.
With the cutter blade we accentuated the crease where we marked the corners.
 Sul davanti della base, abbiamo creato al centro l’apertura per il cassettino, larga 2 cm.
On the front side of the base, we created in the center the opening for the drawer. It should be 2 cm wide.
 All’interno della base abbiamo aggiunto due rinforzi. I nostri misurano 2,7 cm x 0,7 cm. Essi fungono da guida al cassettino e da sostegno alla copertura.
Devono essere più bassi del bordo, perchè l’ottagono della parte superiore deve incassarsi a filo con il bordo. La foto successiva spiega in modo più chiaro cosa intendiamo.
We added two reinforcements inside the base. Ours measure 2.7 cm x 0.7 cm. They support the top and act as drawer runner.
They must underlie the edge of the border, because the octagon of the upper part must be flush to the border. The next picture explains more clearly what we mean.
 Qui si vede l’ottagono superiore incollato. Il bordo copre completamente l’ottagono superiore e quello inferiore e risulta perfettamente liscio.
Si può notare anche che abbiamo rifilato il bordo inferiore dell’apertura del cassettino. Essa deve risultare a filo della base interna, così che il cassettino possa scivolare diritto ed in modo scorrevole.
Here you see the upper octagon glued. The border covers completely the upper and lower octagons and is perfectly smooth.
You may also notice that we have trimmed the bottom part of the opening. It must be flush with the inner base, so that the drawer can slide straight and smoothly.
 Servono poi altri 3 ottagoni, uno per il fondo e due per la copertura. Questi elementi sono tutti grandi uguali ed ognuno misura 5 cm x 3,5 cm. Per avere un cartoncino più robusto, li abbiamo realizzati con lo stesso procedimento dei precedenti e siamo partiti da rettangoli grandi il doppio, ovvero 10 cm x 3,5 cm.
We needed then 3 more octagons, one for the bottom and two for the top. These elements are all the same size. Each measures 5 cm x 3.5 cm. In order to have a cardboard that it is strong enough, we proceeded as for the previous ones, starting from rectangles twice the size, namely 10 cm x 3.5 cm.
 Per ottenere un ottagono i cui bordi sporgano in modo uguale su tutti i lati, anche sugli angoli, abbiamo posizionato la base al centro di un rettangolo. Poi abbiamo segnato con la matita l’ingombro della base.
Abbiamo misurato la distanza tra il segno a matita ed il bordo del rettangolo. Poi abbiamo riportato questa misura anche sui lati in corrispondenza degli angoli ed abbiamo eliminato i quattro triangoli in punta, ottenendo un ottagono più grande della base.
Abbiamo ricopiato queste misure anche sugli restanti due rettangoli e li abbiamo tagliati allo stesso modo.
In order to have an equal border protruding on all sides of the octagon, even on the corners, we placed the base on the center of a rectangle. Then we marked with a pencil the shape of the base.
We measured the distance between the pencil mark and the edge of the rectangle. Then we marked this measure also on the sides at the corners and we eliminated the four triangles on the tips, obtaining an octagon slightly bigger than the base.
We cut the remaining rectangles in the same way.
 Le cornicine che rifiniscono la base sono state ricavate anche loro dalle scatole di cereali. Questi elementi in rilievo sono molto interessanti. Li avevamo già utilizzati per il nostro zoccolino battiscopa, per il pannello con i campanelli per chiamare la servitù e come ornamento sotto il coperchio del pianoforte verticale.
Esse si ottengono dagli angoli delle confezioni. Si deve aprire la scatola dei cereali e stenderla sul tappetino da taglio con il lato stampato verso il basso. In corrispondenza degli angoli sono visibili delle linee in rilievo. Tagliando lungo di esse si ricavano le cornicine. I profili variano a seconda di quanto vicino si tagli alla bombatura.
Il rilievo è piuttosto delicato, perché sotto è vuoto. Di conseguenza durante la fase di taglio bisogna evitare di schiacciarlo per non intaccarlo. E’ meglio quindi appoggiare il righello sulla superficie piatta del cartone e non sul rilievo stesso.
The moldings finishing off the base come from the cereal boxes, too. These elements in relief are really interesting. We already used them for our baseboards, for the servants’ bells and to decorate the top of our upright piano.
We obtain them from the edges of the package. we open the cereal box and place it on a cutting mat with the printed side face down. At the corners you will notice a creased line. By cutting along them you will have the molding. The profiles will vary depending on how close you cut to the bulge.
The relief is quite delicate, because it is hollow underneath. Consequently, you should avoid to place the ruler on it while cutting in order not to crush the profile and leave a dent. It’s better to lay the ruler on the flat surface of the box and not on the relief itself.

Abbiamo iniziato ad incollare la cornicina partendo dal retro, così da lasciare la giuntura in un punto nascosto. L’abbiamo applicata attorno alla base, facendola aderire bene, soprattutto sui lati lunghi, perché l’angolo tende a spingere verso l’esterno la cornicina. Anche in questa fase bisogna evitare di lasciare segni sul rilievo. Una volta completato il giro, abbiamo eliminato con il cutter la cornicina eccedente, lasciando le due estremita a filo.
We glued the molding starting from the back, so the joint will not be too visible. We have applied it around the base, making sure that it adheres well, especially on the long sides, because the angle tends to push out the molding. Also at this stage we proceeded carefully, avoiding to damage the relief. After completing the tour, we eliminated the exceeding molding with a cutter, leaving the two ends flush.
 Prima d’incollare l’ottagono che funge da copertura alla base, abbiamo applicato una seconda cornicina sul lato opposto del bordo. Qui, non essendoci il bordo sporgente che fa da guida, bisogna fare attenzione a rimanere a filo della base.
Before we attached the octagon that will be the top of the base, we glued a second molding on the opposite side of the border. Here there is no protruding edge to guide us, so we had to be careful to stay flush with the border.

Per realizzare una copertura sagomata della base, abbiamo preso i due restanti ottagoni. Uno dei due l’abbiamo rifilato, eliminando su ogni lato 1 mm di bordo. Li abbiamo poi incollati uno all’altro, centrandoli.
To make a profiled top for the base, we took the remaining two octagons. We trimmed one of them, cutting off 1 mm on each side. Then we glued the two pieces together centering them.

La copertura sagomata è stata poi incollata alla base, centrandola.
The profiled lid was then glued to the base, centering it.

La struttura del cassettino è di cartoncino. L’interno è rivestito con carta fiorata. Una volta infatti i mobili venivano rifiniti molto bene all’esterno, ma all’interno erano piuttosto grezzi. Per evitare schegge e polvere gli interni venivano rivestiti di carta. La carta più usata era quella di Varese.
La base misura 2,6 cm x 1,9 cm; i lati lunghi, 2,4 cm x 0,3 cm; i lati corti, 1,9 cm x 0,3 cm.
I bordi del cassettino sono piuttosto piccoli, pertanto non è necessario utilizzare cartoncino forte. Mentre la base deve essere realizzata con un cartoncino doppio.
The structure of the drawer is made with cardboard. The inside is lined with floral paper. In fact, once only the outside of the furniture was perfectly finished off and the inside was left pretty rough. To avoid splinters and dust the insides were lined with paper. The most commonly used paper was that of Varese.
The base measures 2.6 cm x 1.9 cm; the long sides, 2.4 cm x 0.3 cm; the short sides, 1.9 cm x 0.3 cm.
The borders of the drawer are rather small so there is no need to use strong cardboard. On the contrary, the base must be made with a double cardboard.

Abbiamo poi tagliato il frontalino del cassetto, che misura 1, 9 cm x 0,4 cm. Al centro abbiamo praticato un foro nel quale infilare il pomello.
We cut also the front of the drawer, which measures 1, 9 cm x 0.4 cm. In the center we have drilled a hole for the knob.

Per facilitare il lavoro di rivestimento abbiamo incollato la carta fiorata sul cartoncino, prima di tagliare i pezzi. Così quando abbiamo assemblato il cassetto, tutto l’interno era già rivestito.
To facilitate the work of lining the inside with the floral paper, we glued it onto the cardboard before cutting the pieces. So when we assembled the drawer, the entire interior was already done.
Il pomello del cassetto è stato realizzato utilizzando un “dente” di una spazzola di legno. Un’estremità ha una protuberanza che ricorda i pomoli. Dopo averlo accorciato è diventato un perfetto pomello in miniatura.
For the knob of the drawer we used a “tooth” of a wooden brush. One end has a bulge that reminds the knobs. After having shortened it, it has become a perfect knob in miniature.

Una volta assemblato il cassetto ed aver applicato il frontale con il pomello, abbiamo fatto delle prove di apertura e chiusura del cassettino ed abbiamo eliminato eventuali imperfezioni che potrebbero impedire un facile scorrimento. La struttura della base della specchiera è così pronta.
Nel prossimo post vi racconteremo come abbiamo realizzato lo specchio e le colonnine, come abbiamo assemblato tutti i pezzi e come li abbiamo rifiniti.
Once assembled the drawer and applied the frontal panel with the knob, we tested its opening and closing and we eliminated any imperfection that prevented an easy sliding. The structure of the base of the shaving mirror is ready.
In the next post we’ll tell you how we did the mirror and the columns, how we assembled all the pieces and how we finished off the shaving mirror.


C’est très gentil à vous de nous offrir le tuto ce ravissant Psyché!Les photos et les explications sont très claires.
Isabelle
"Mi piace""Mi piace"
Merci à toi Isabelle! Si tu vas le construire, je serai heureuse de poster une photo sur mon blog 🙂
"Mi piace""Mi piace"
Great stuff Dada 🙂
"Mi piace"Piace a 1 persona
I’m glad you liked it!
"Mi piace""Mi piace"
Con un pò di cartoncino hai fatto un capolavoro.
"Mi piace""Mi piace"
Spettacolo ❤
Ciao
Sid
"Mi piace""Mi piace"
fantastico!!! resto in ansiosa attesa del seguito 🙂 una sola domanda, che marca di cereali compri? ho trovato delle scatole di cartoncino forse un pò troppo sottile, quando lo pieghi fa le grinze… 😦
"Mi piace""Mi piace"
Ciao Caterina e grazie! Ora facciamo un po’ di pubblicità… hahaha Io uso le scatole dei cereali dell’Esselunga (un supermercato fantastico, che però non c’è da voi), ma Kellogg’s o simili vanno benissimo, purché l’esterno non abbiano la stampa lucida/glossy e le scritte impresse. Lo spessore giusto lo crei tu accoppiando più strati. Anche il mio fa le grinze se lo piego (per esempio agli angoli del bordo della base) ma se lasci la parte grezza all’esterno non si nota… 😉
"Mi piace""Mi piace"
proverò a comprare i Kellogg’s allora, sperando che piacciano ai miei ragazzi, che se sanno che lo compro solo per la scatola mi prendono per pazza… hahahaha!
"Mi piace""Mi piace"
Maravilloso
"Mi piace""Mi piace"
WoW, Ersilia! What a professional job you have done in constructing the base for your shaving mirror. I really enjoy your amazing creativity with card-stock. You always manage to take your projects, from common paper to a “solid” high quality wood, right before our eyes! :))
elizabeth
"Mi piace""Mi piace"
Thank you Elisabeth! I must admit… I’m really satisfied with the result 🙂 What I have to improve is the mirror itself. I had to choose something very light and I’m not sure I did the best. But we will have time to talk about that next time 😉
"Mi piace""Mi piace"
Pingback: Lo specchio da comò parte 2 – The shaving mirror part 2 | Dada's dollhouse
Pingback: La caminera – The overmantel mirror | Dada's dollhouse
Pingback: Le orchidee in vaso – Potted orchids | Dada's dollhouse
Pingback: L’abbaino – The dormer | Dada's dollhouse
Pingback: Braciere da camino – Fire basket | Dada's dollhouse
Bello lo specchio per il comò! ha un sapore di altri tempi . . . grazie per la dritta della maniglia per il cassetto, io nei vari cassetti ho sempre e solo incollato una semplice e banale perlina, ma in effetti la tua idea è di gran lunga più realistica.
Buon tutto, elena
"Mi piace"Piace a 1 persona
Grazie Elena. Questo è una delle mie miniature preferite. 😊È vero, il pomolo realizzato con la parte finale dei denti della spazzola è per ora il più realistico 😉
Buon ponte
"Mi piace""Mi piace"